After much revision to the X-Carriage and it’s related electronics and hardware mounts I finally have something I believe is a viable prototype.
This leads to the great fun of many hours of wiring and testing the electronics.
Aside from an issue with the X axis endstop connection everything seems to be working as designed. The corexy movement is working well and the hotends are both heating correctly, with automated cooling fan turning on if either hotend gets warm enough to warrant it.
A few more parts need to be designed for the filament pusher and the heated bed platform has yet to be mounted to the Z axis, but the third revision design is getting close to being a 3D printer again!
Rather than tease with more OpenSCAD or Maxwell renderings, I thought I would show a photo of the actual prototype, partially assembled and mostly wired up:
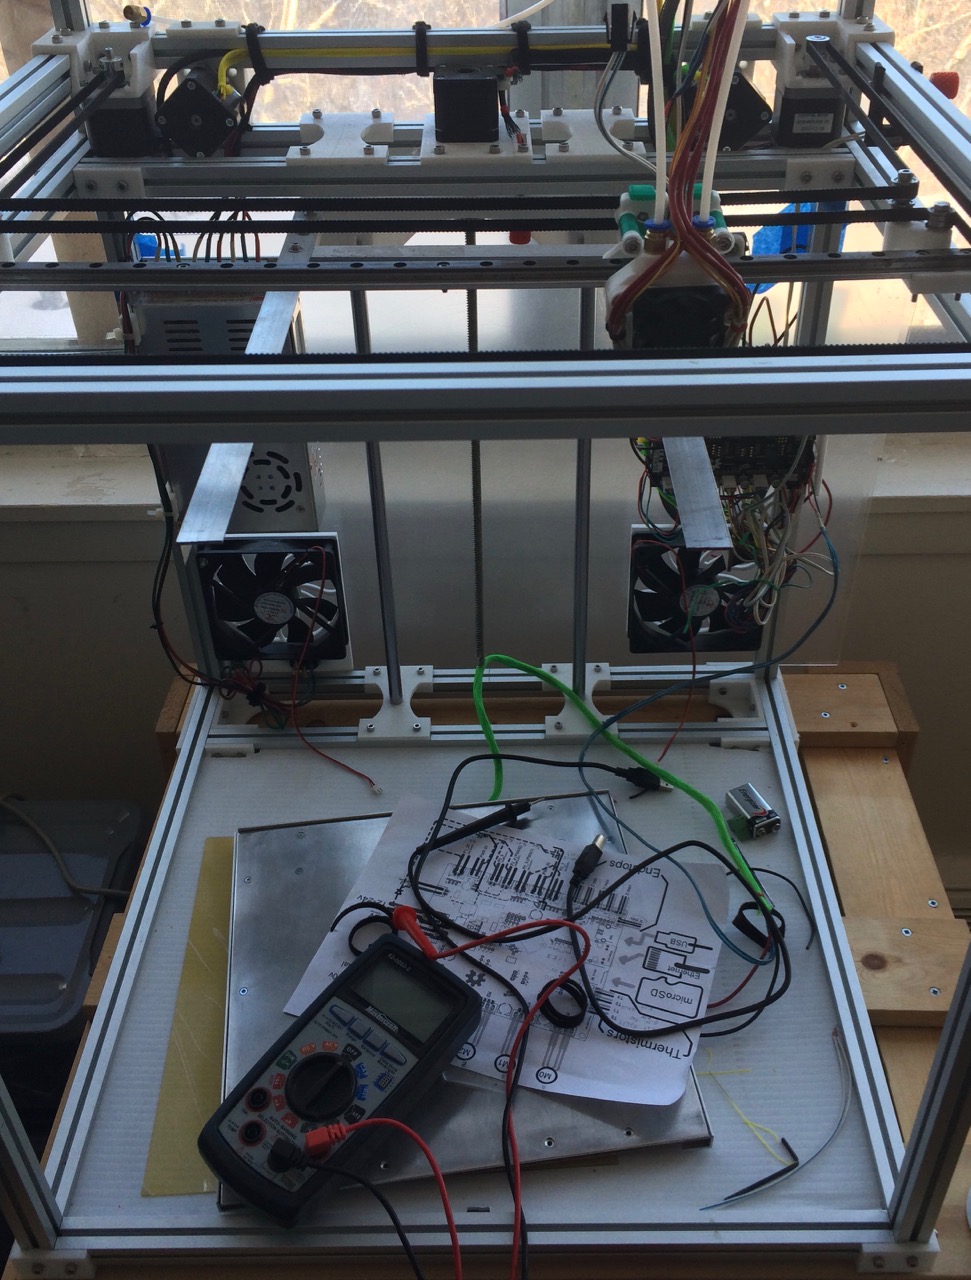
The modular design of the X-Carriage shows off a couple of it’s benefits for fixing the X axis endstop. Some testing with the multimeter indicated that the switch was working fine and that the problem was somewhere within the length of wiring from the microswitch and it’s quick connect.
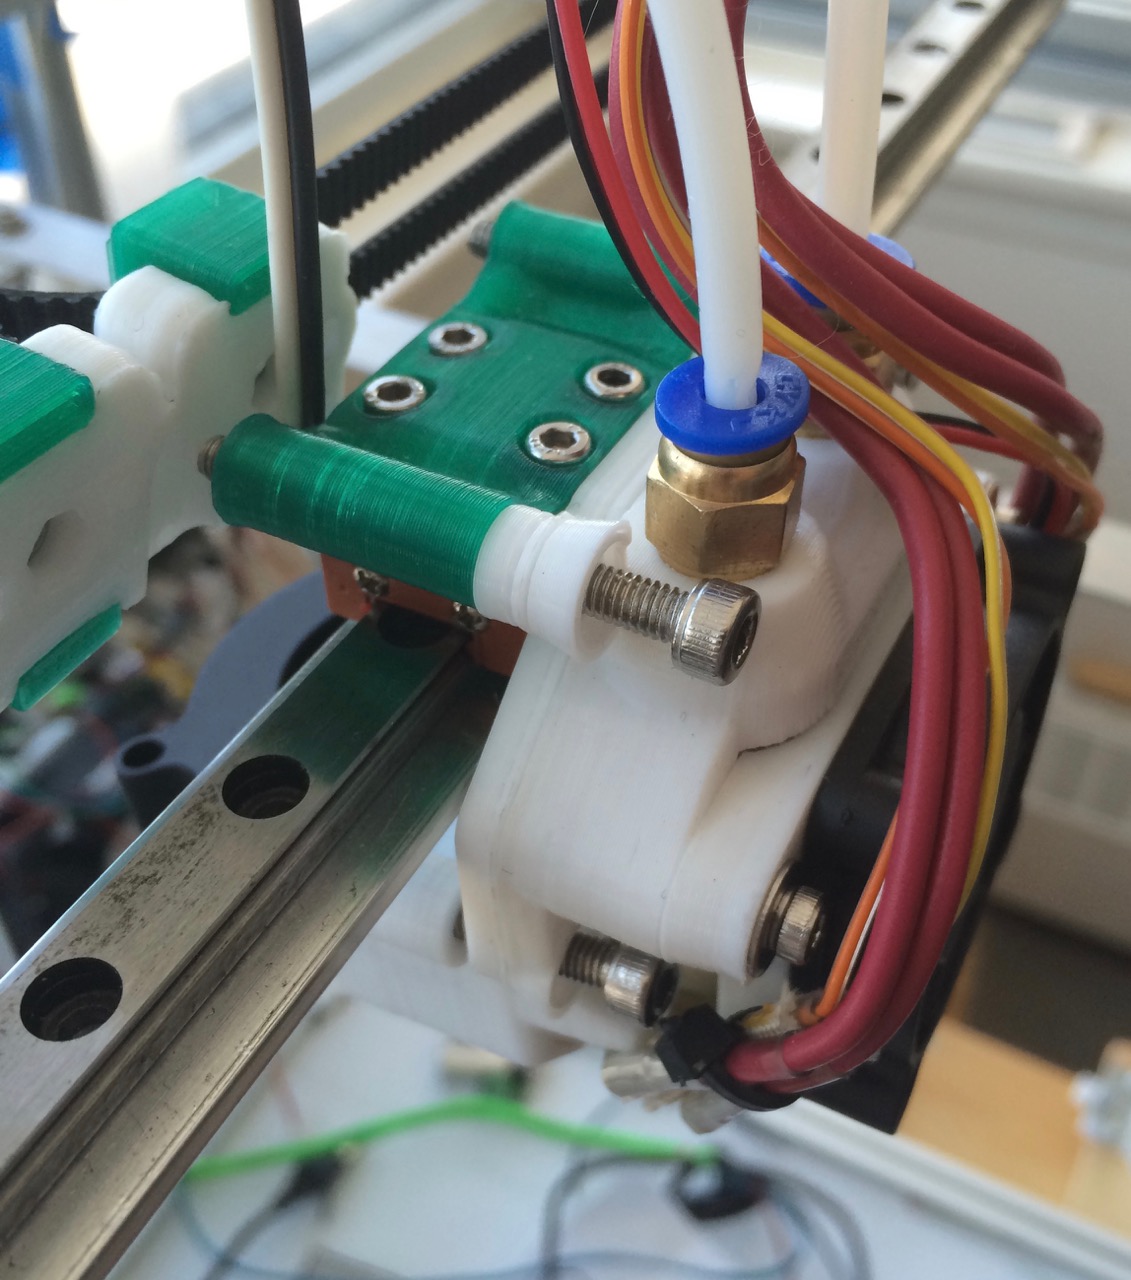
Because the carriage assembly is modular I was able to remove the portion of the carriage that holds the switch and not have to remove all of the other components from the printer. Further examination revealed that one of the wires had broken at the solder connection, likely due to repeated movement during various assembly tests. Quick bit of soldering ought to rectify the problem.
Here is what the x-carriage looks like with that portion removed – note that the belts remain clamped in place and tensioned while everything is apart which is a real time saver:
Recent Comments