As with all printers, after assembly and initial electronics testing, it becomes time to print calibration cubes.
This simple step cube came out fairly well, especially when you consider that I made a mistake when slicing it in Cura and forget to put in any infill.
Since I was testing the extruder and some other factors out at the same time, I decided to let it run and was pleasantly surprised by the machine’s ability to bridge the PLA and create the shape despite having no infill to support the next row of cubes.
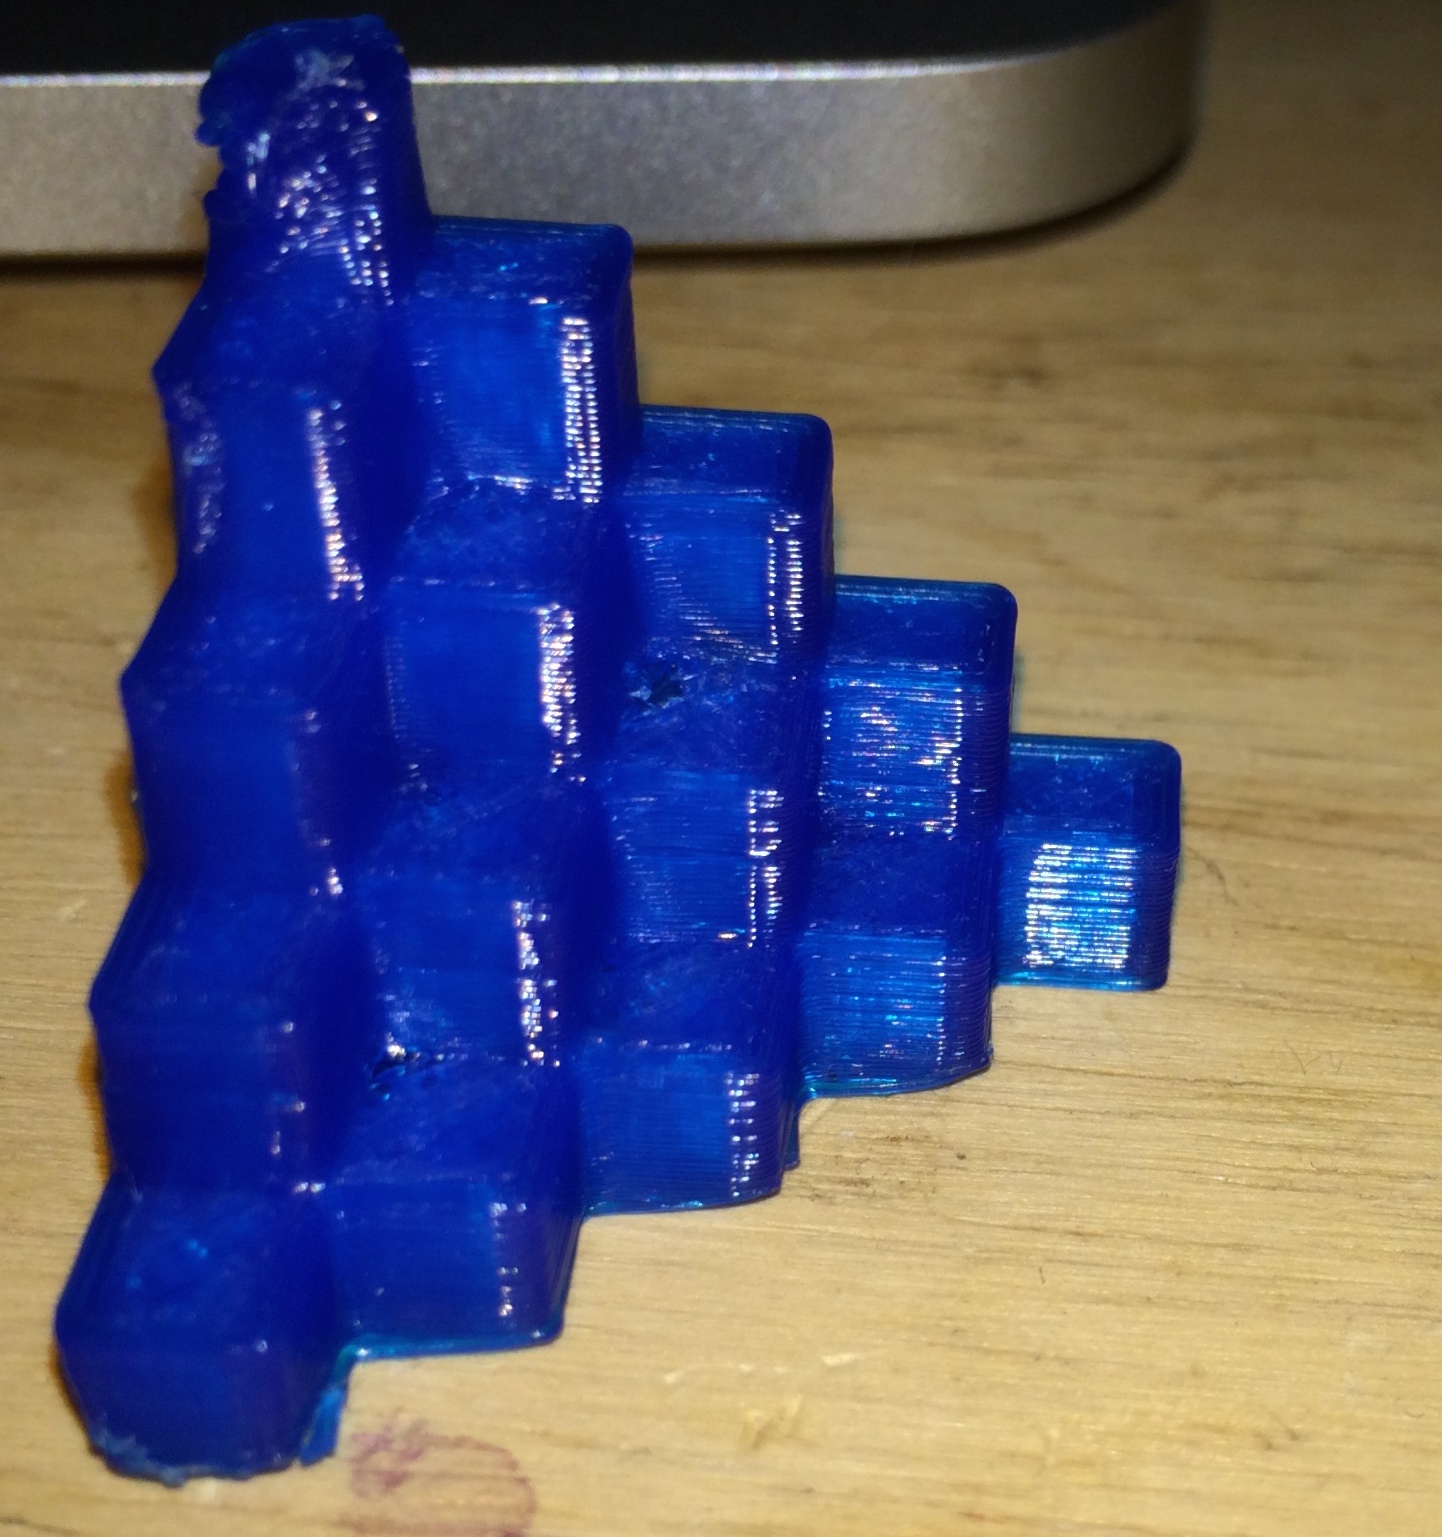
One thing that is evident is that the blower that is channeled through the bottom of the x-carriage assembly is definitely doing it’s job, but needs a slight modification in range of the print it blows across. Note the top tiny cube is fairly straight on the right side, but melted and distorted on the left side.
This is due to the blower only cooling the print from the right, the left side blower is beside the other nozzle and unable to cool the plastic on that side.
Some redesign of how that works will be needed.
As a side note from the testing done last night, I will eventually need to move away from the modified AirTripper style extruder to something more custom for this machine. Higher print speeds causes the filament to kink within the gap between the pinch roller and the pneumatic fitting and jam up the whole works.
Recent Comments