Kitchissippi Gemini 3D Printer
Contents
- GitHub Project Summary
- Bill of Materials
- Printed Parts
- X Carriage
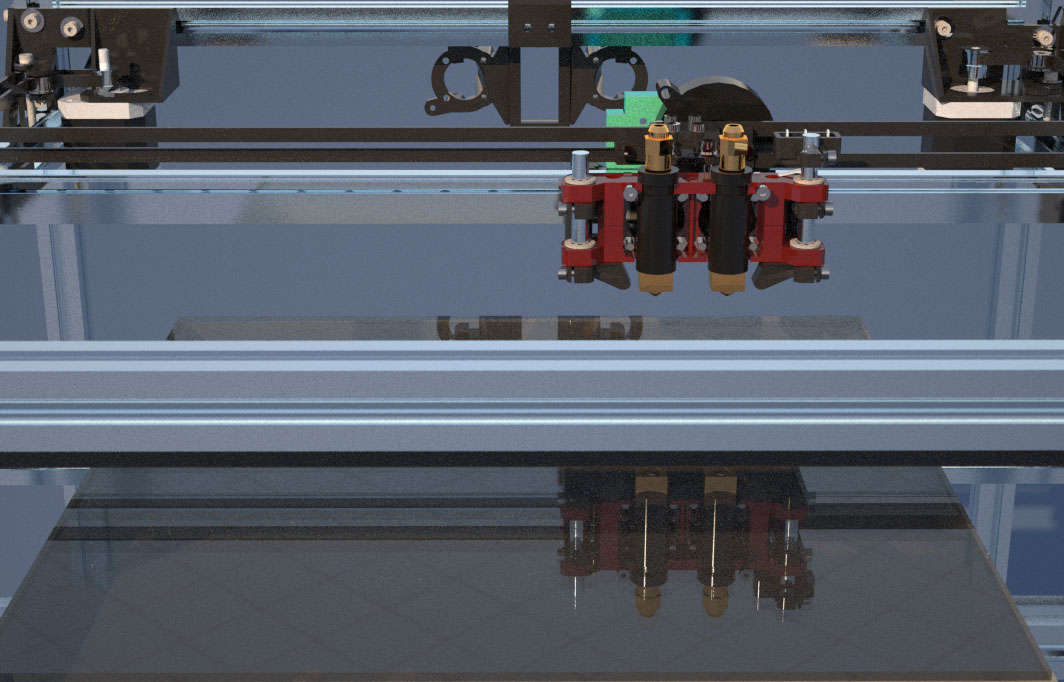
- Hotend Chassis
- Y Axis
- Electronics
Bill of Materials
To be determined – machine is still under development.
Printed Parts
| X Carriage | |||
|---|---|---|---|
| Part Name | Plastic | Quantity | Preview |
| X Carriage – Bottom Mount | PLA | 1 | 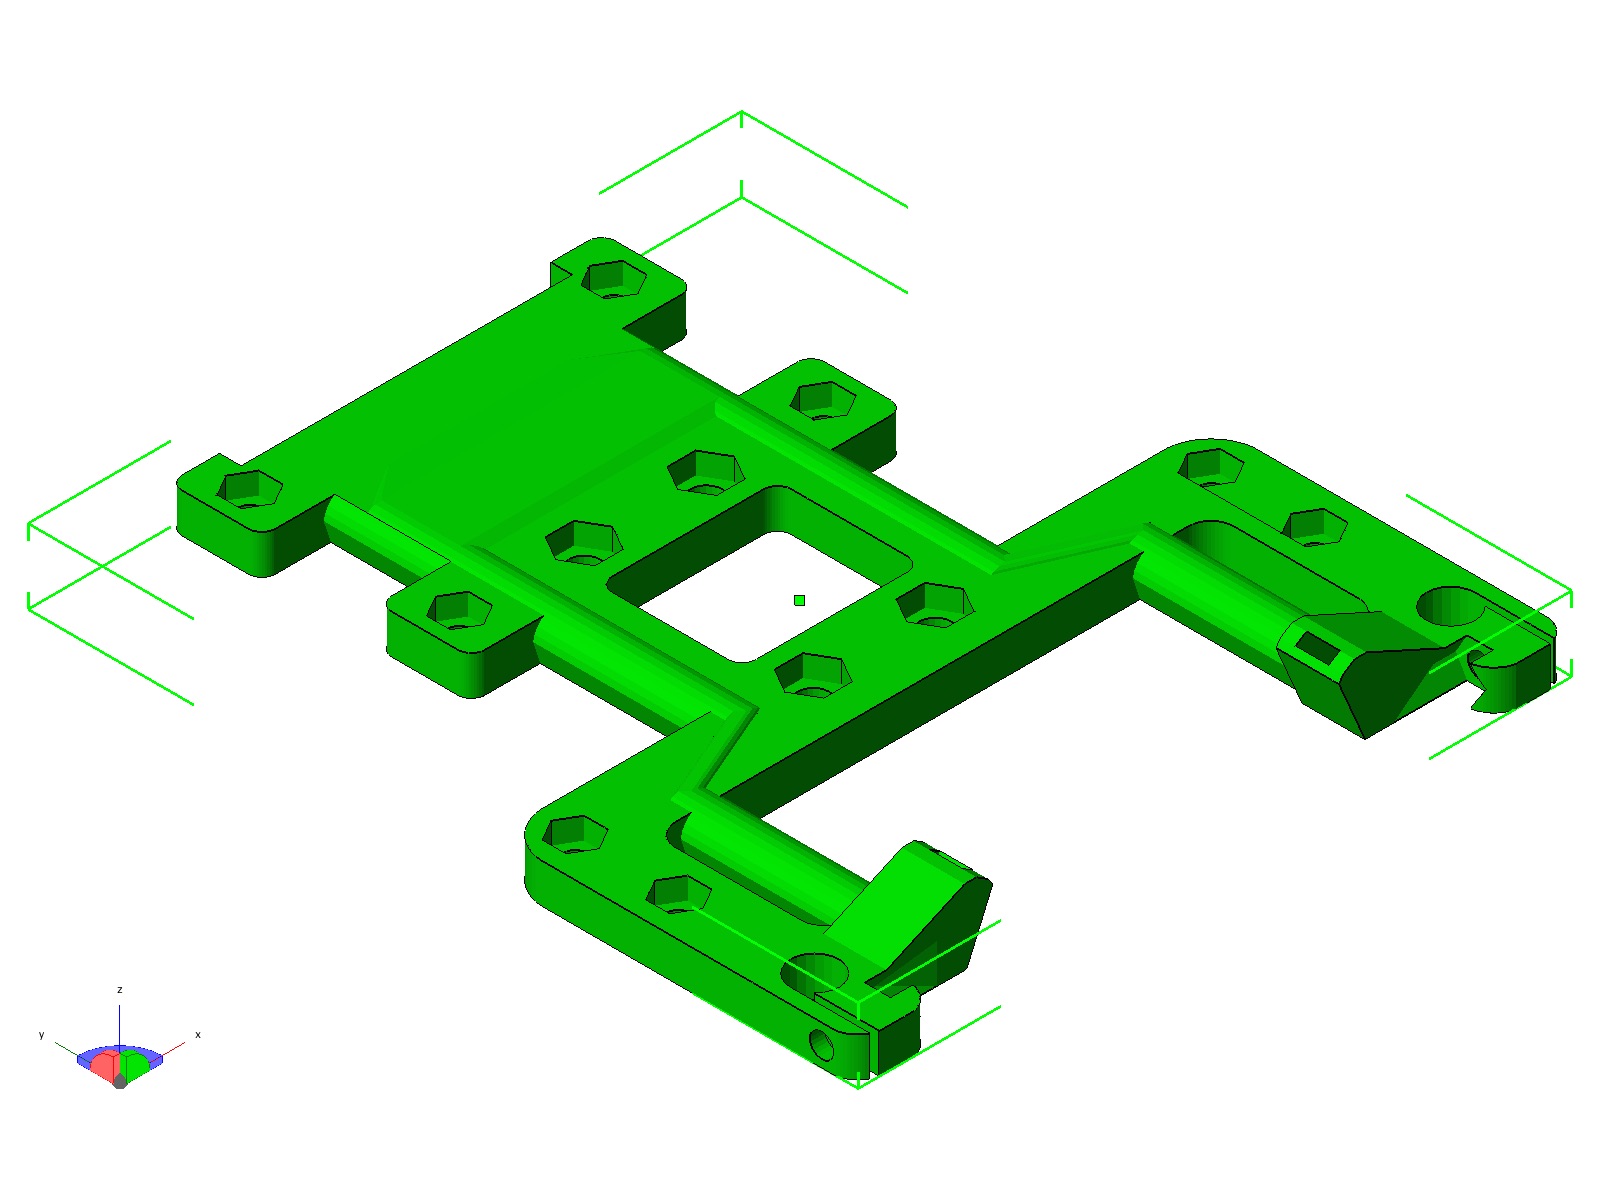 |
| X Carriage – Top Mount | PLA | 1 | 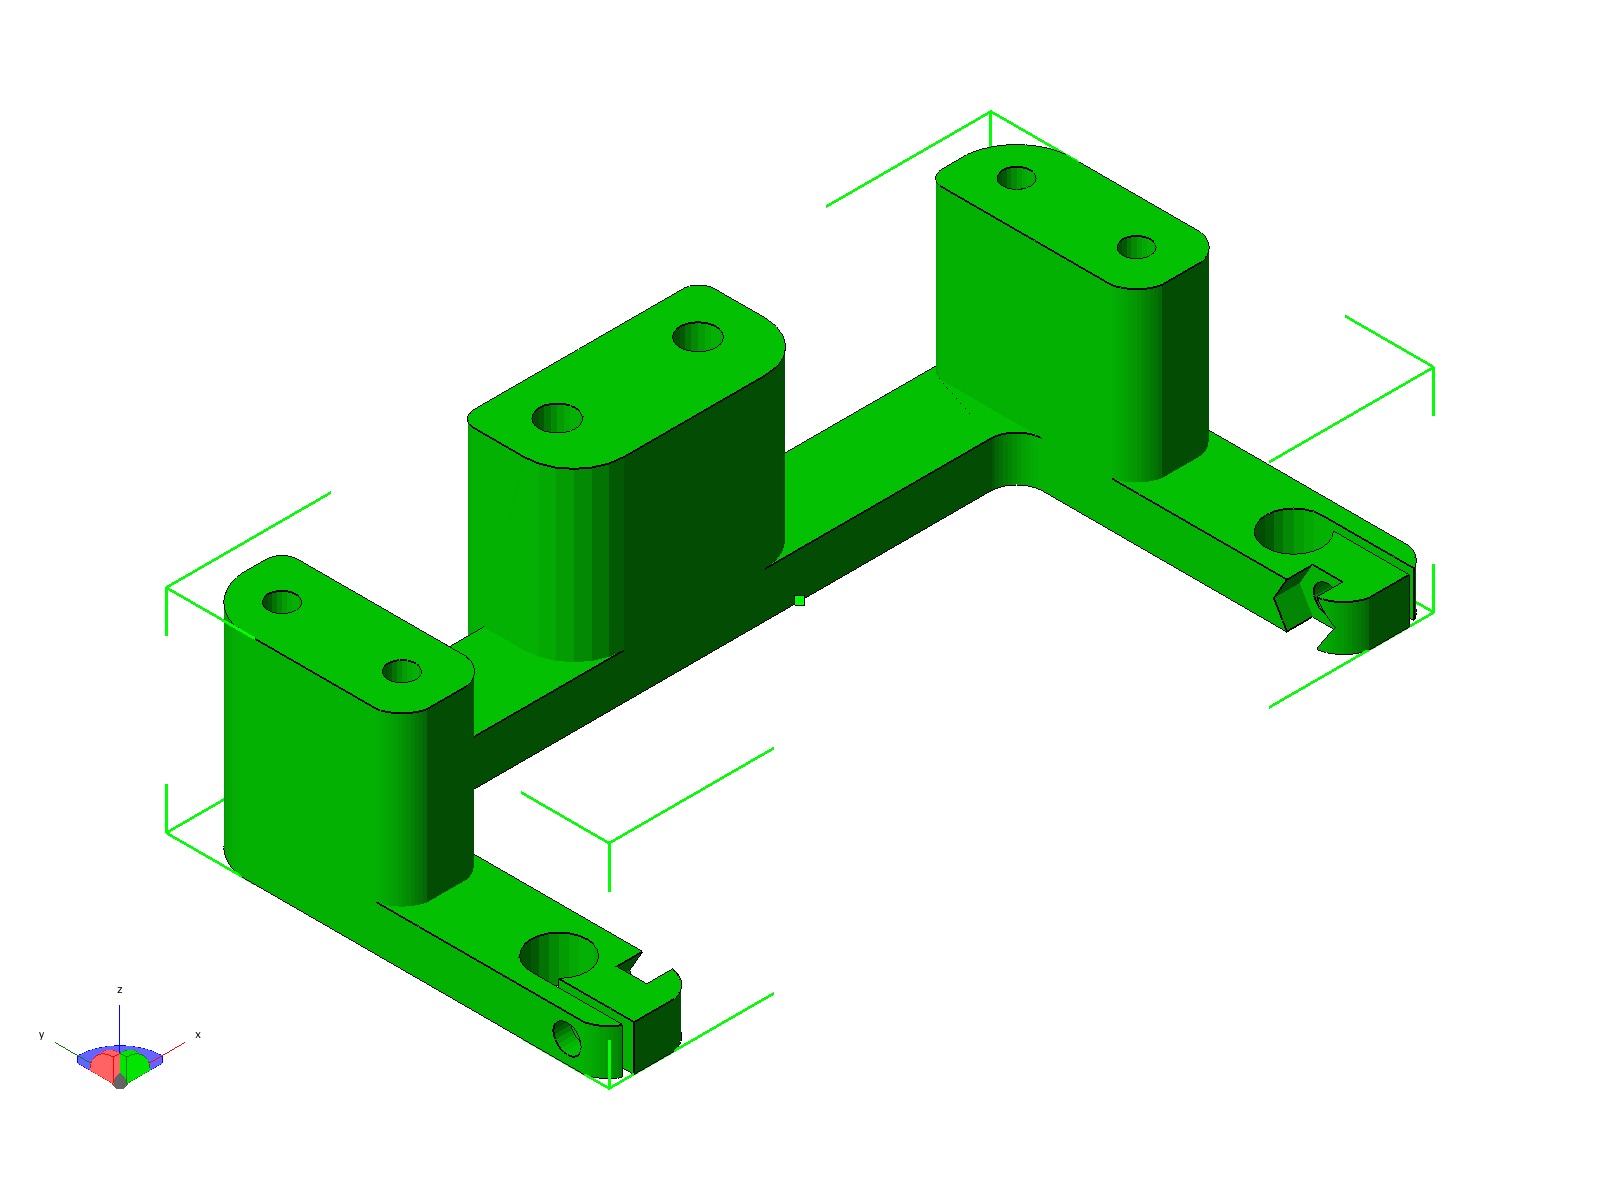 |
| X Carriage – Rear Mount | PLA | 1 |  |
| X Carriage – Terminal Mount | PLA | 1 | |
| X Carriage – Bottom Belt Clamp | PLA | 1 | |
| X Carriage – Top Belt Clamp | PLA | 1 | |
| Hotend Chassis | |||
| Part Name | Plastic | Quantity | Preview |
| Hotend Chassis – Bottom Frame | ABS/PETT | 1 | 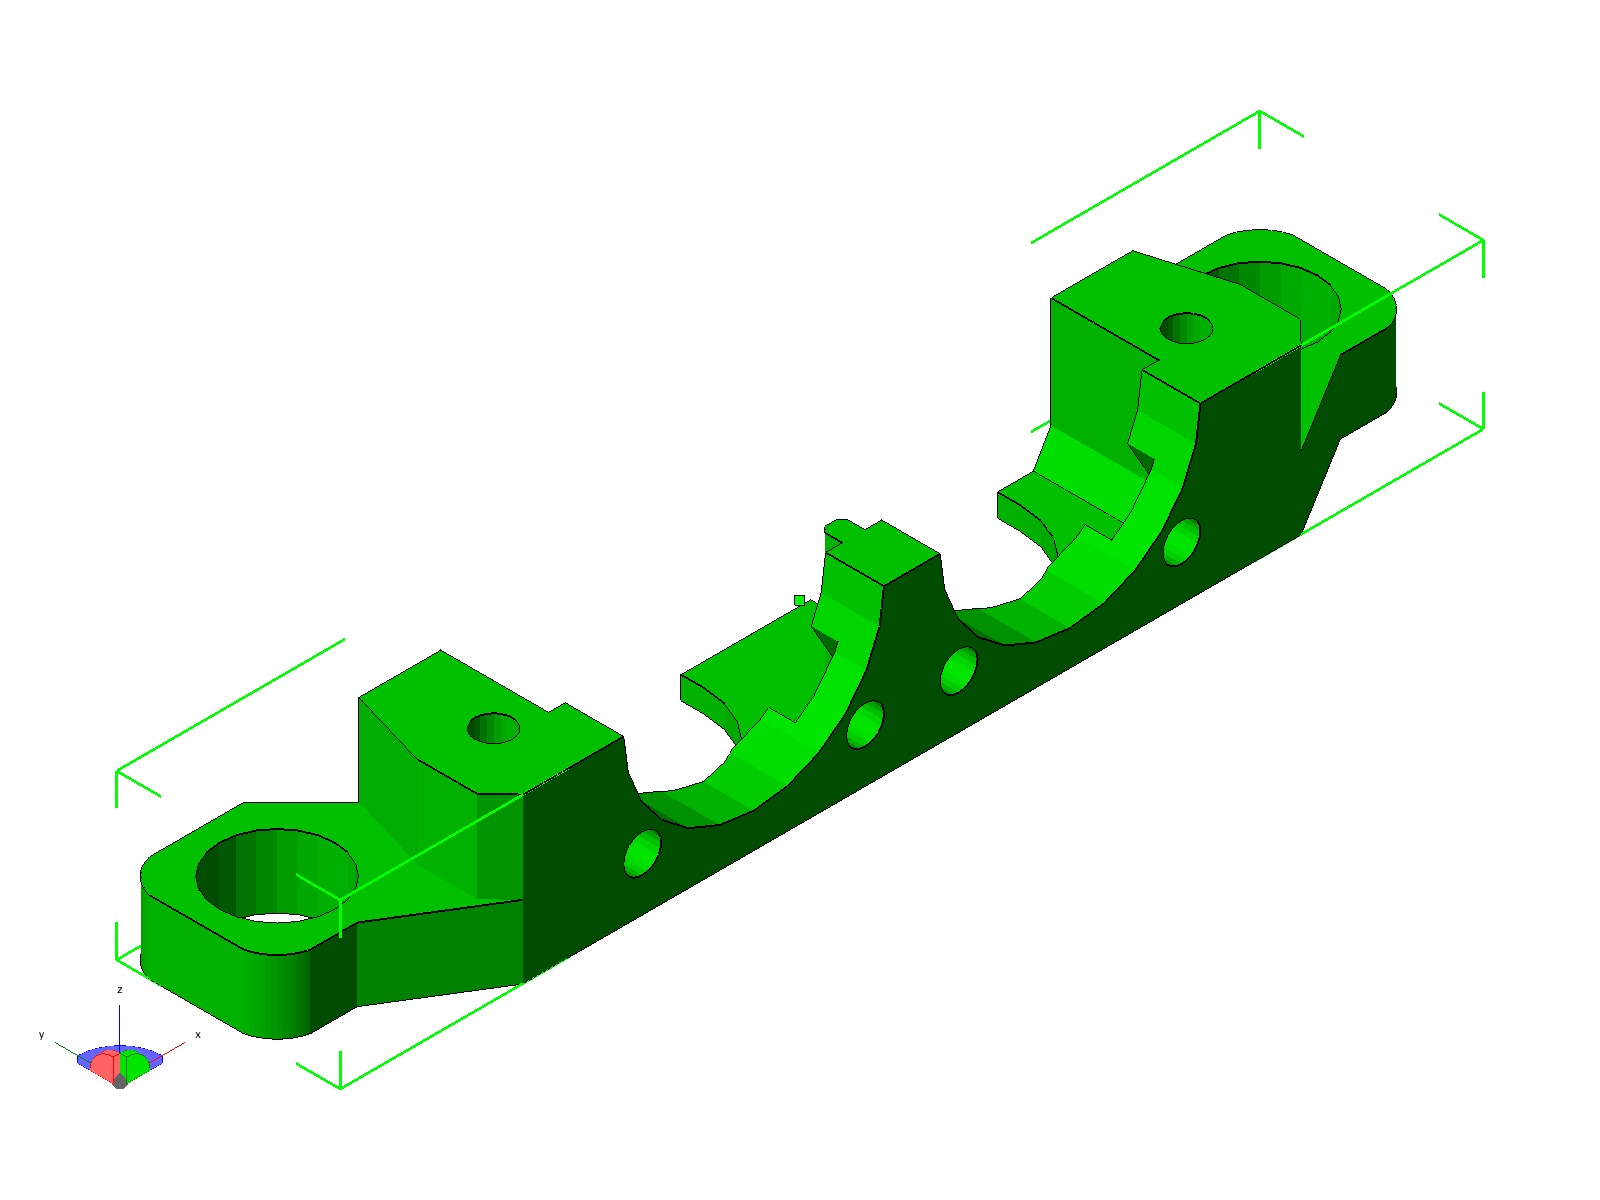 |
| Hotend Chassis – Top Frame | ABS/PETT | 1 | 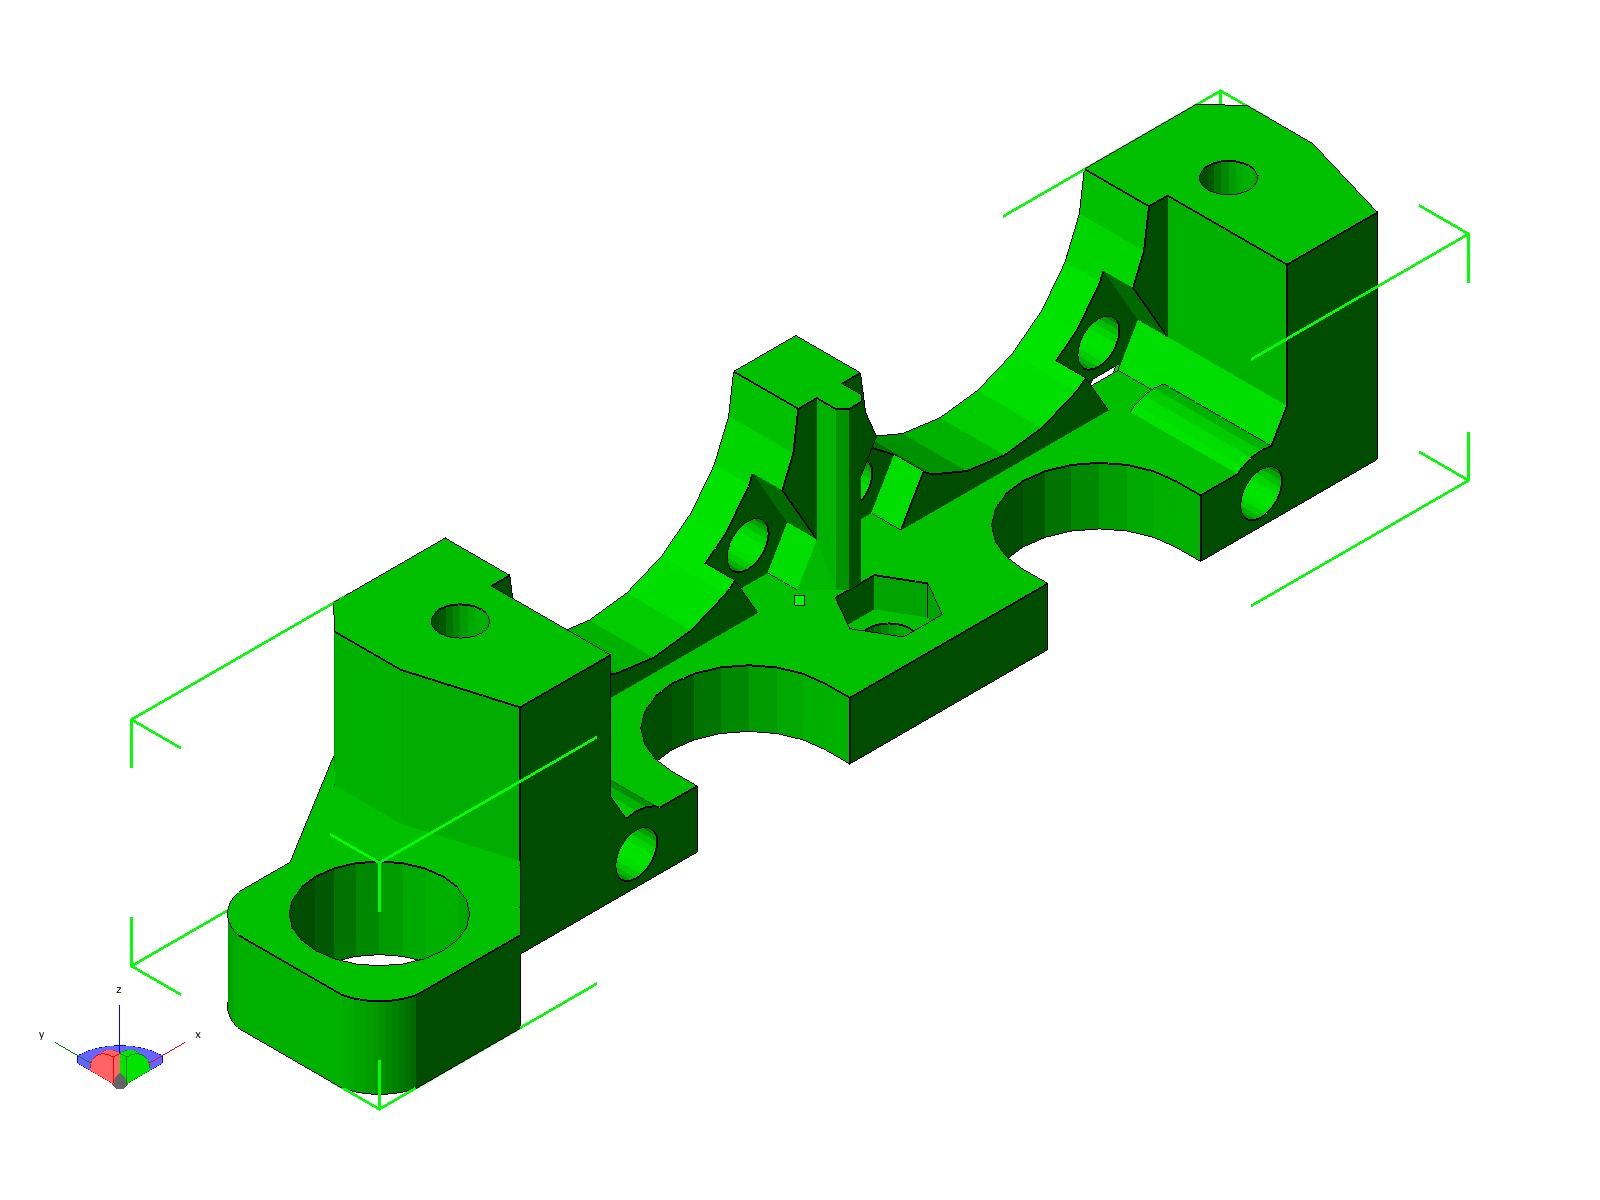 |
| Hotend Chassis – Bowden Cap | PLA | 1 | 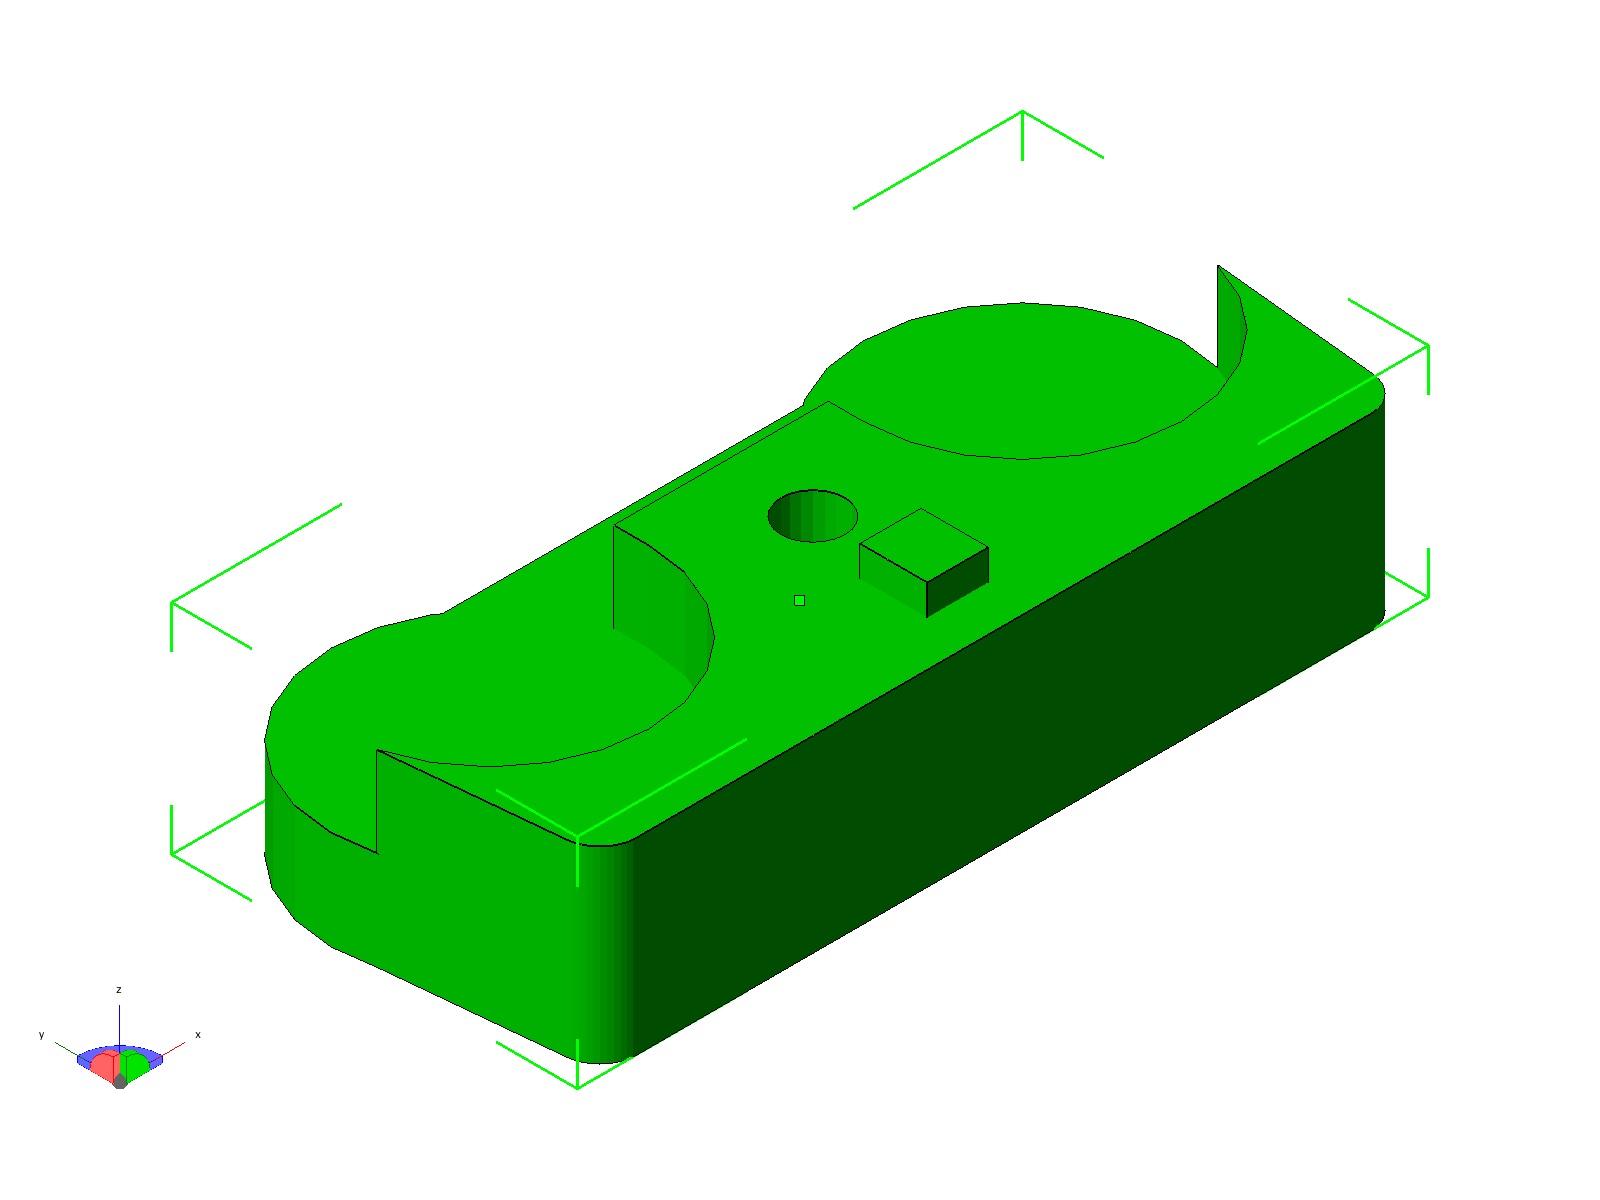 |
| Hotend Chassis – Groovemount Cover | ABS/PETT | 1 | 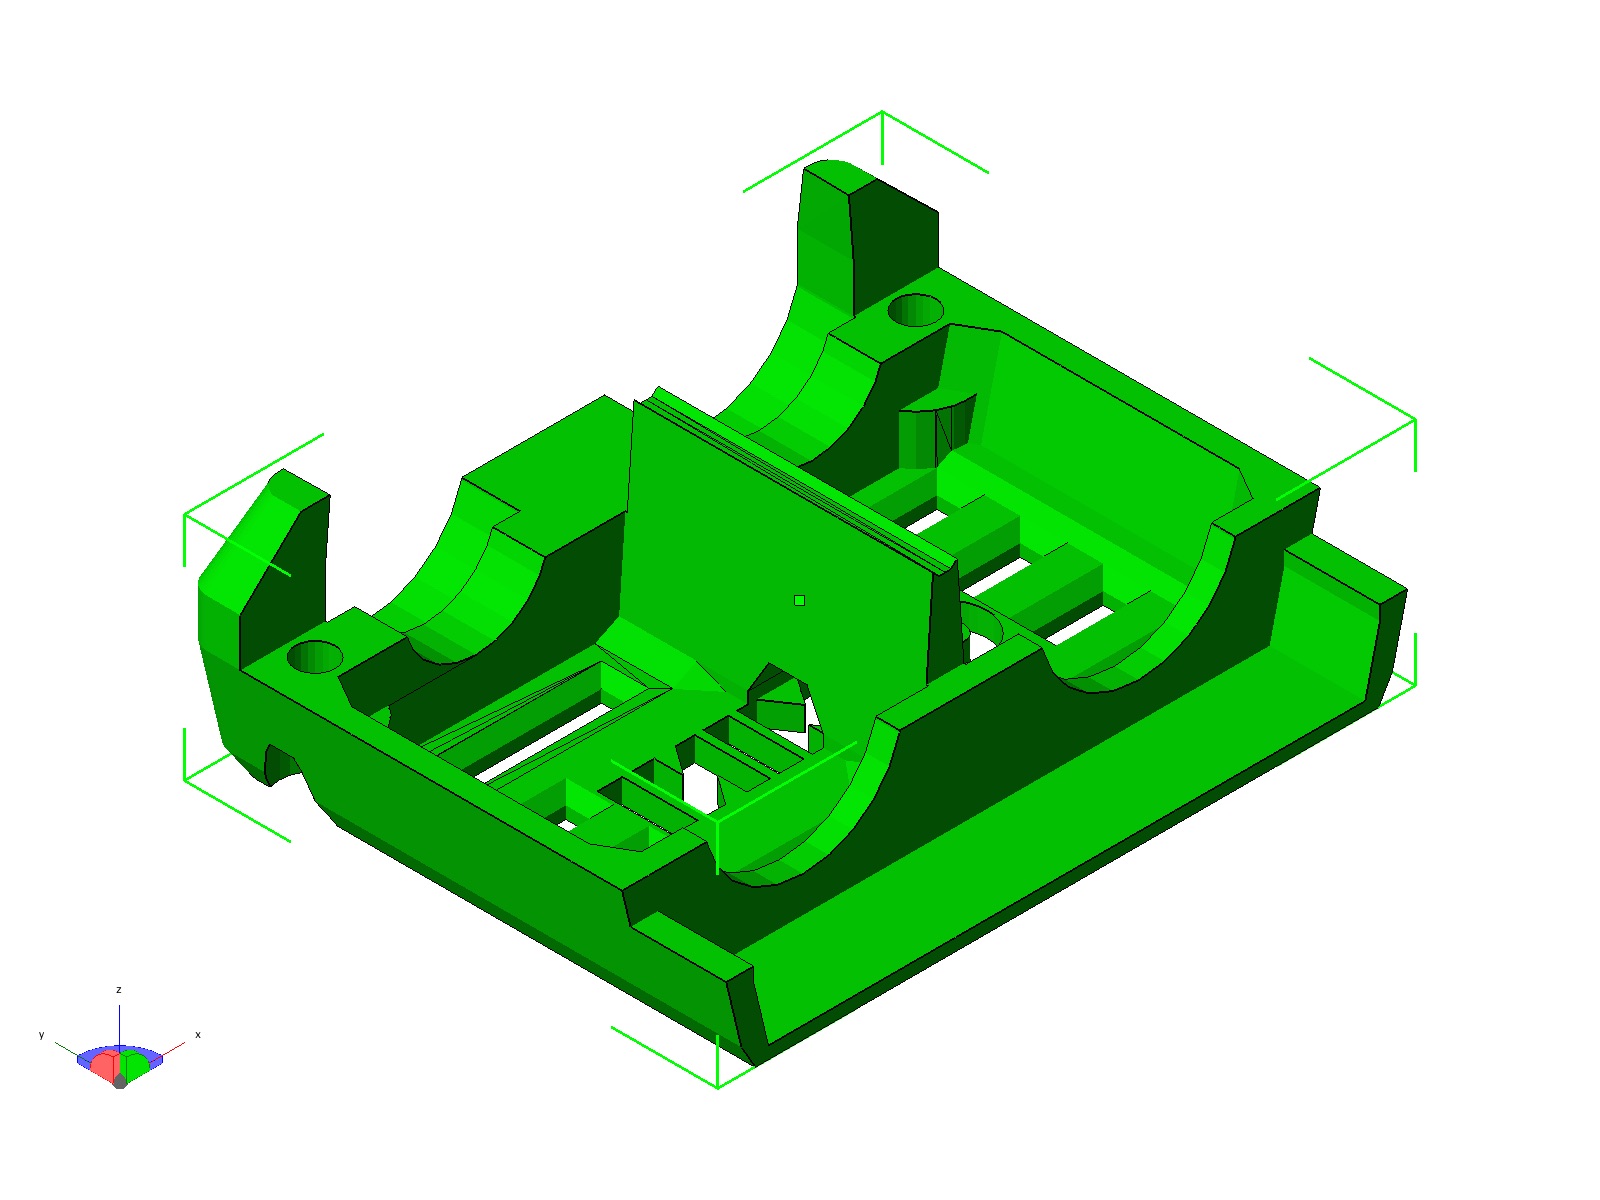 |
| Hotend Chassis – Pushfit Retainer | PLA | 1 | 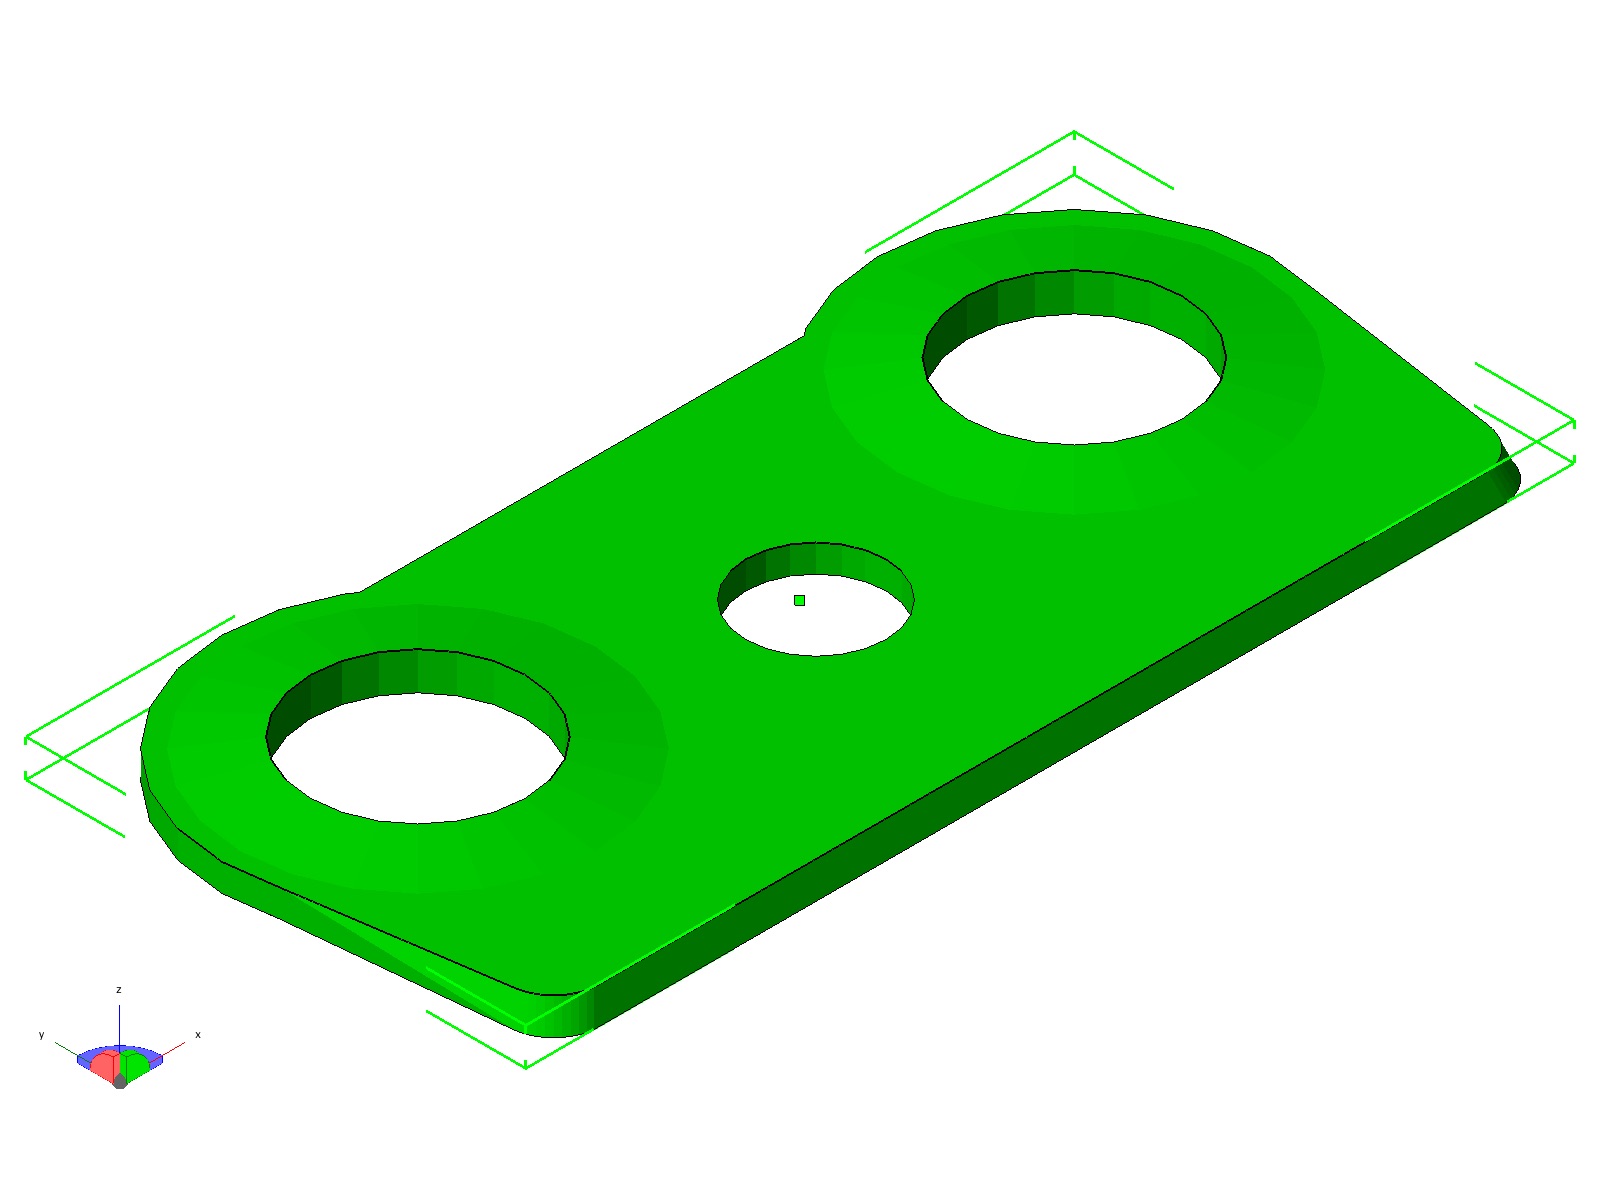 |
| Hotend Chassis – Slide Bushing | PLA | 3 | 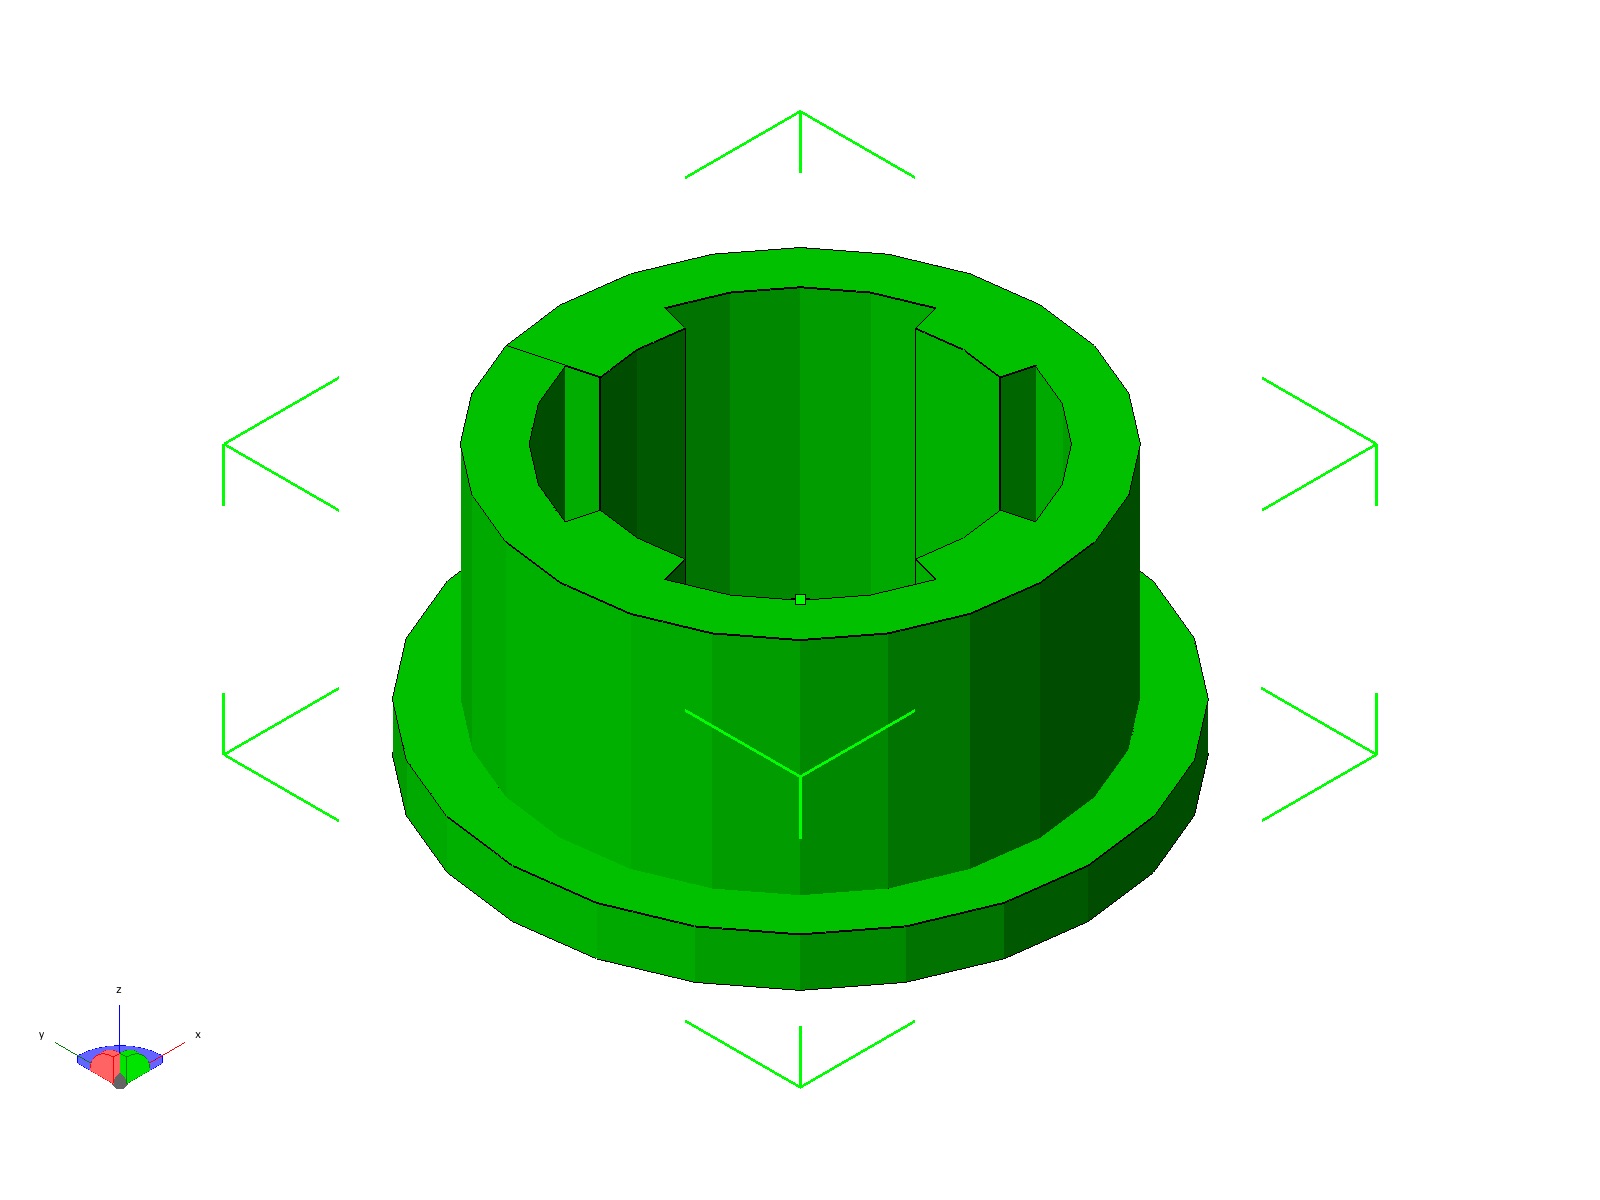 |
| Hotend Chassis – Z Probe Clamp | PLA | 1 | 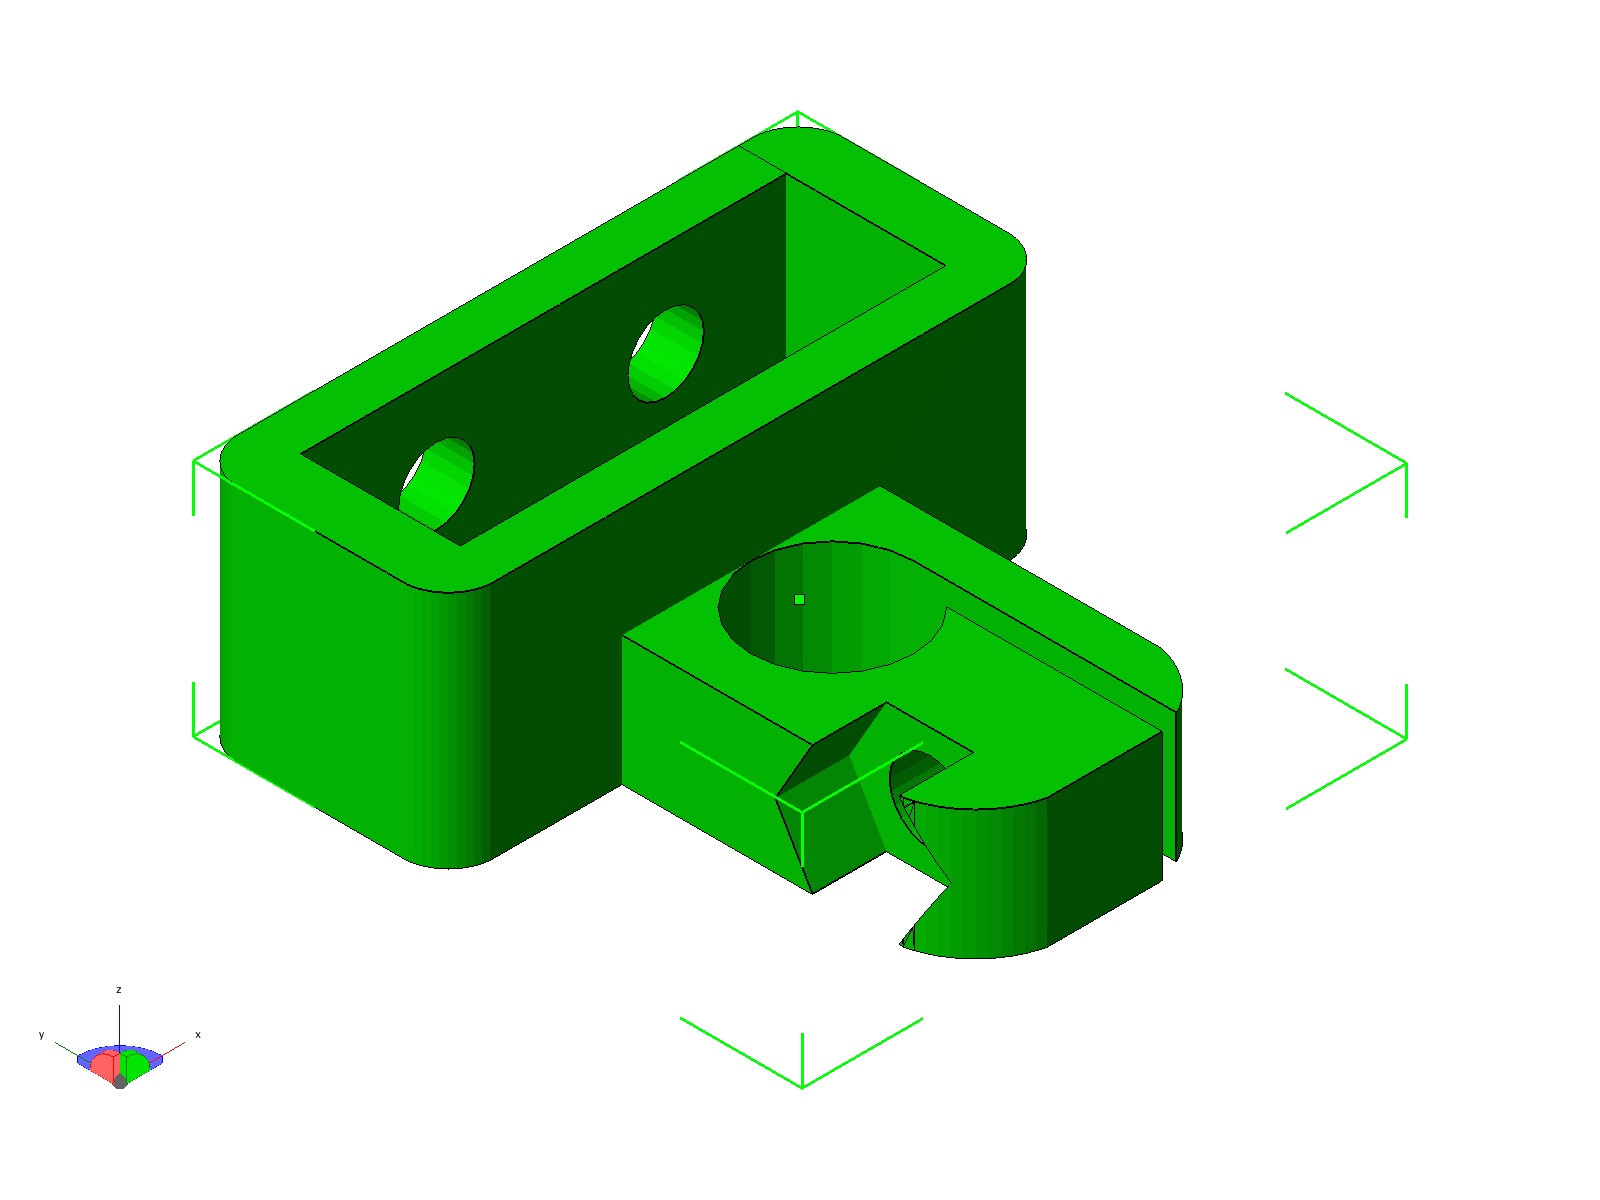 |
| Y Carriages | |||
| Part Name | Plastic | Quantity | Preview |
| CoreXY Belt Idlers | |||
| Part Name | Plastic | Quantity | Preview |
| Frame Pieces | |||
| Part Name | Plastic | Quantity | Preview |
| Optional Frame Panels | |||
| Part Name | Plastic | Quantity | Preview |
Electronics
The prototype build for the Gemini uses a 24v 15A 360W power supply for maximum performance.
Use of a 12v power supply is of course possible, but 24v is more ideally suited for powering the heated bed in order to speed up heating times of the spreader plate.
For a controller board the excellent Smoothieboard X5 was chosen due to it’s ability to work with multiple input voltages and five stepper controllers. The Gemini uses three controllers for it’s cartesian movement and an additional two for the extruders.
When selecting fans for the machine, it is important to note if you are using 12v or 24v compatible fans. The Gemini prototype is using 12v fans within the X Carriage and Hotend Chassis, so a 24v to 12v DC converter was required.
The Smoothieboard allows for a separate power input for the small mosfet section of the board.
24v to 12v DC Converter
Since three fans and possibly some LEDs do not draw a lot of amps, a simple circuit can be used to step-down the voltage for the mosfet input:
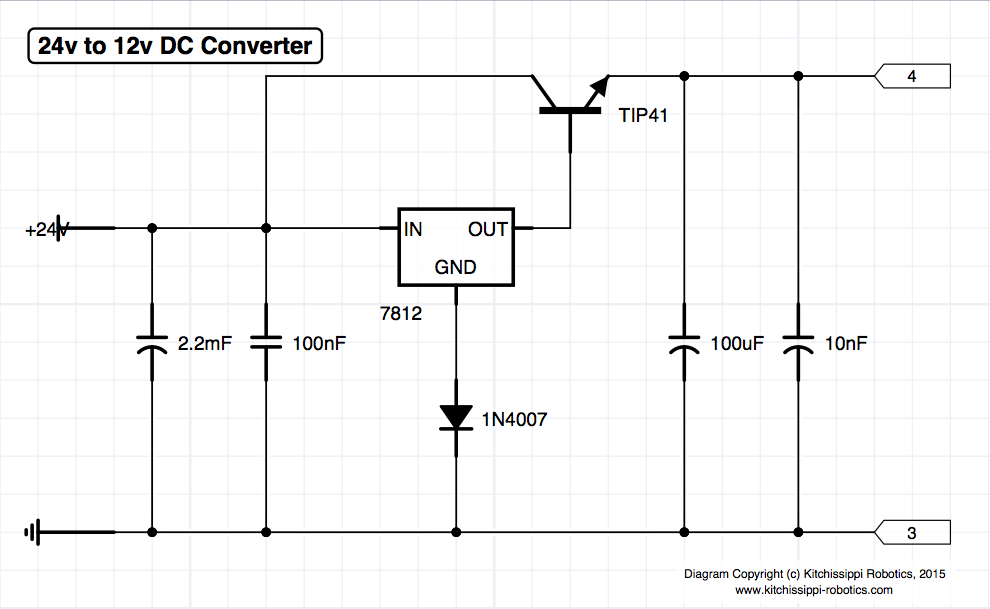
This circuit utilizes the low cost LM7812 DC regulator which typically can only output a maximum of 1A. In order to maximize the output a TIP41 power transistor is included to allow the circuit to power several amps if required.
Heatsinks on the LM7812 and TIP41 are recommended because the excessive voltage is being dissipated as heat.
The above circuit has proved reliable over many hours of operation so far and can output more amps than the Gemini actually requires with all fans operating. This was done on purpose to maximize the converter’s utility since the printer is still in the prototype stage.
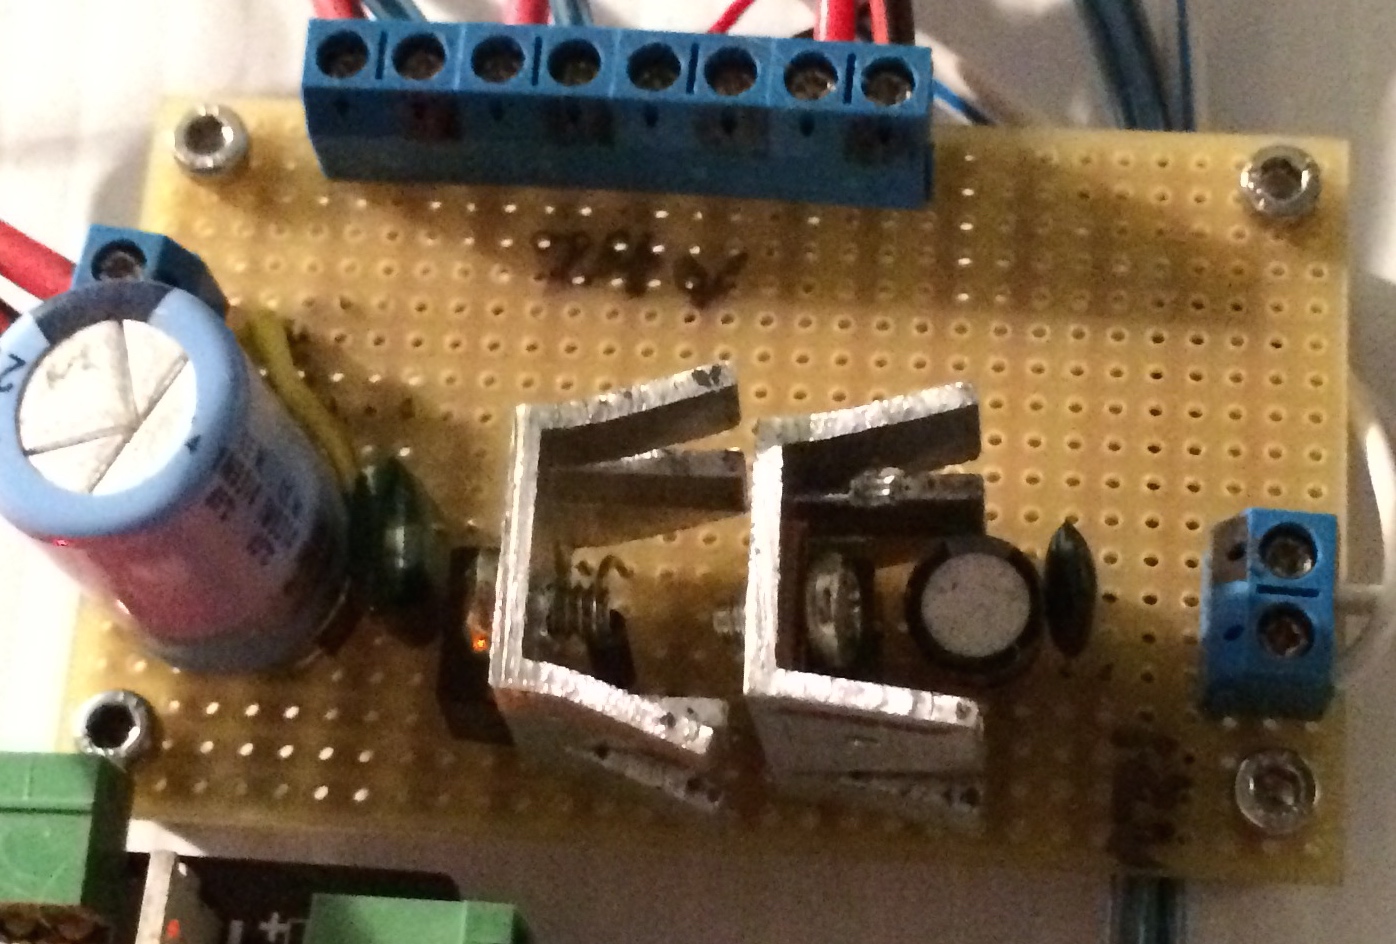
The above photo is the chosen implementation of the converter daughter board. The voltage input follows directly after the power switch on the front of the printer. The top row of terminals output 24v directly for powering the main input on the Smoothieboard, the large mosfet input on the Smoothieboard, the large 24v electronics cooling fan and the power light within the power switch. The right terminal outputs 12v DC for the small mosfet input on the Smoothieboard.
The heatsinks are made of scrap aluminum channel and keep the regulator and power transistor nice and cool.