Kitchissippi Gemini 3D Printer

Project Description
This is an in-progress design for the machine – the source may change frequently and is not currently stable. Any questions can be directed to novakane on the freenode IRC channel #reprap
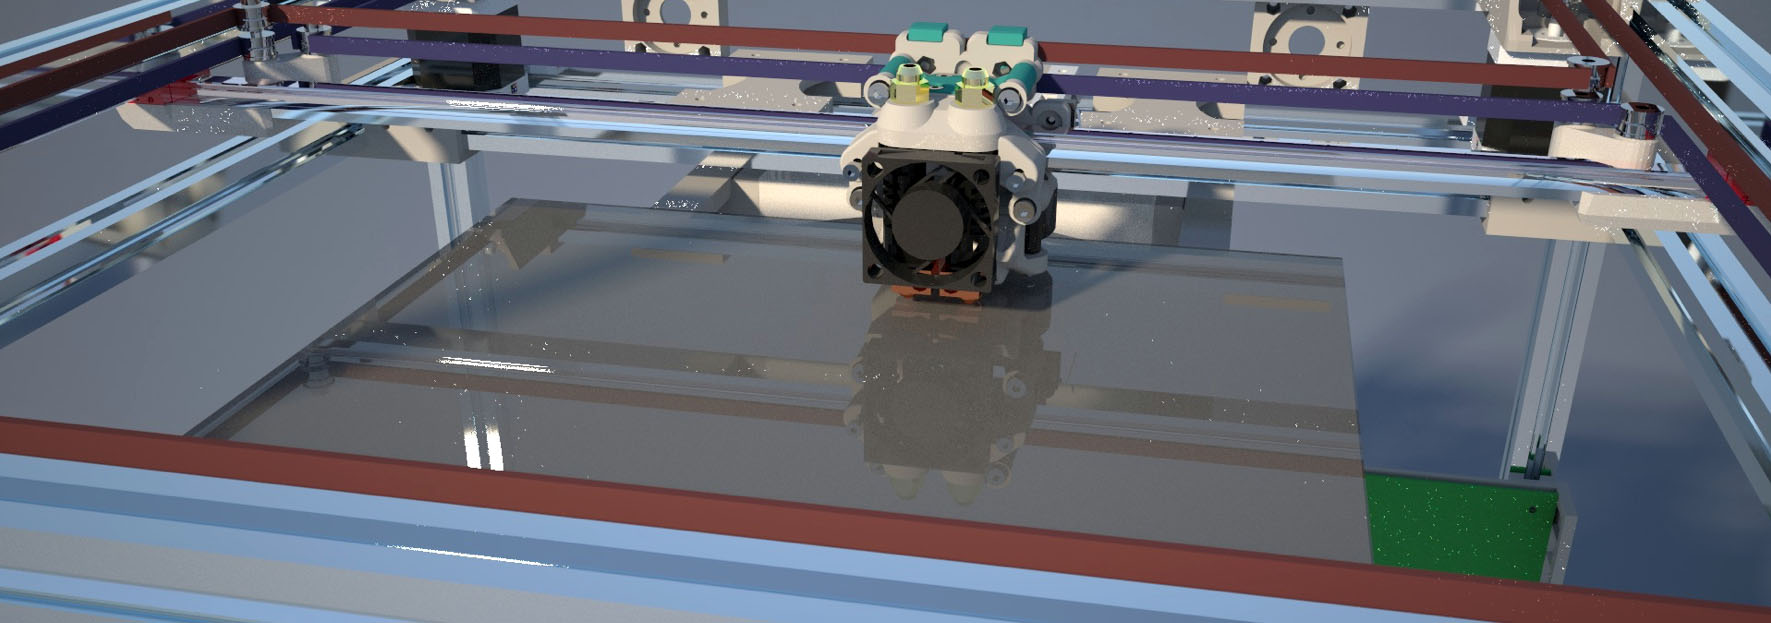
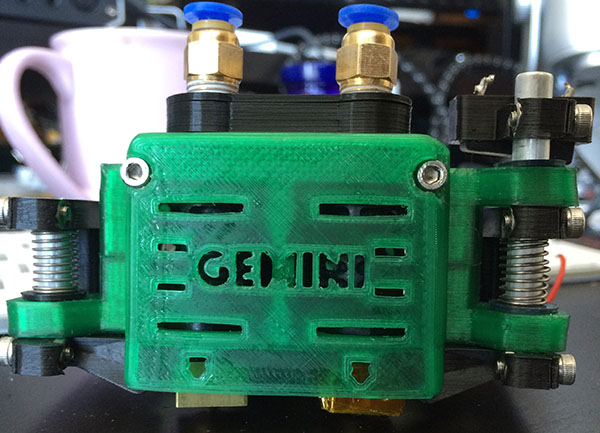
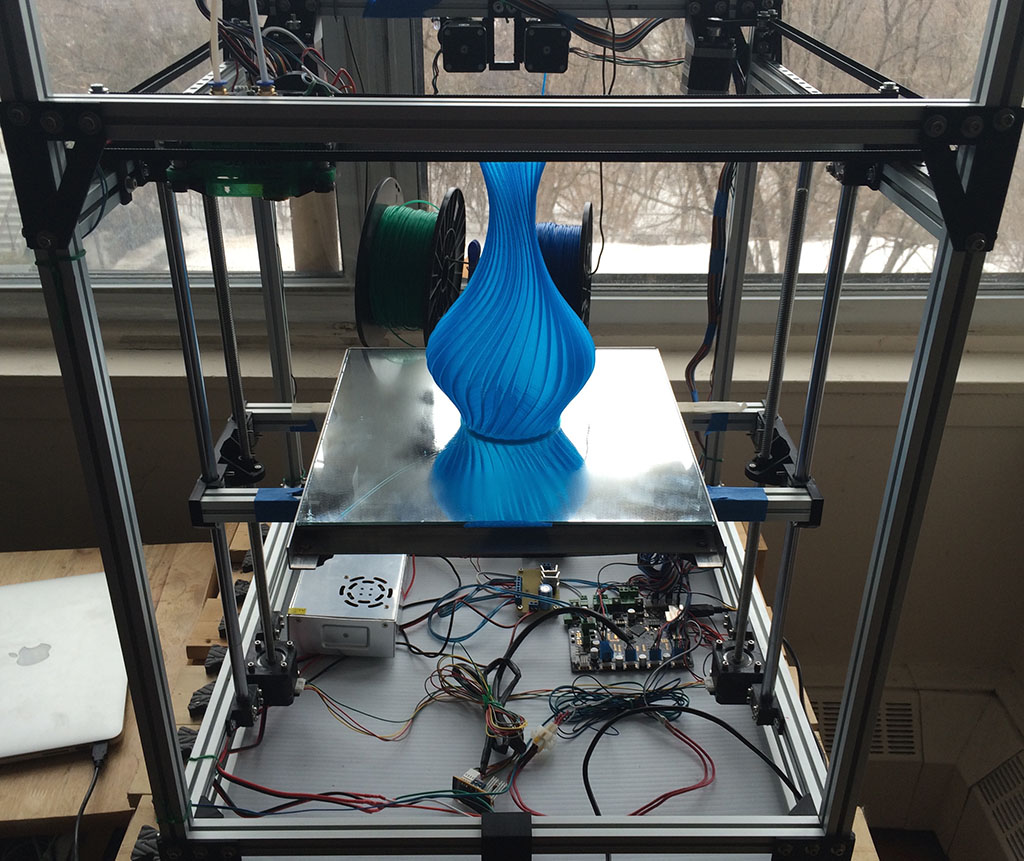
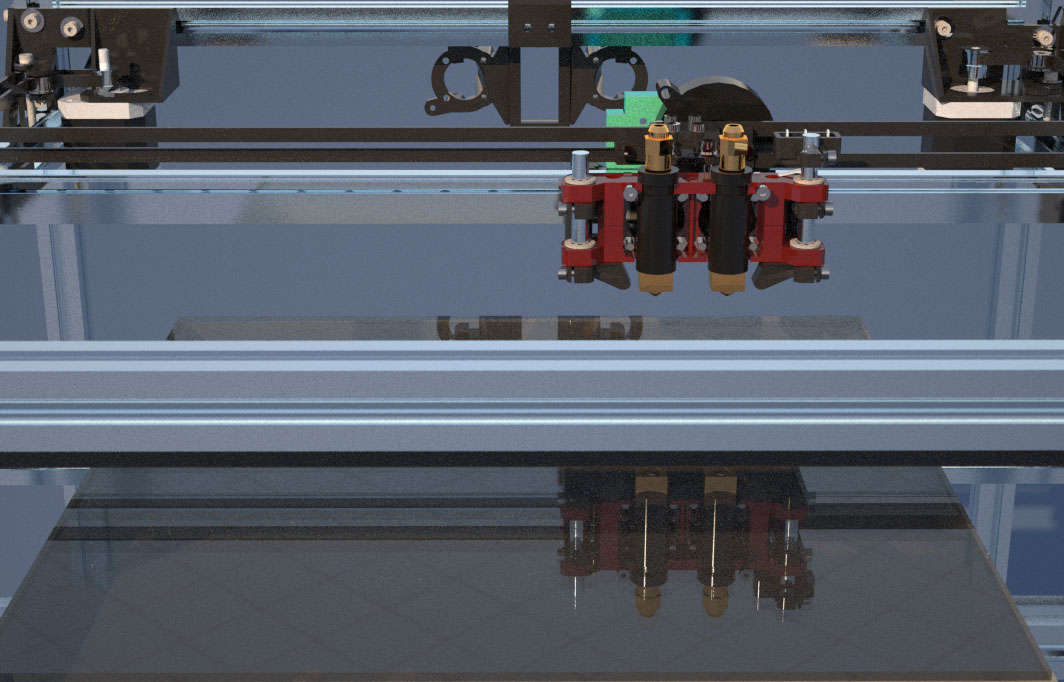
The Gemini is a CoreXY based 3D printer with dual extrusion capabilities and a large print volume. The machine is capable of depositing layers of filament from both extruders over it’s full print volume of 300mm x 300mm x 400+mm.
Initial object models were designed to minimize initial print time; test the underlying design theory; and finally, identify stress points in assembly. This makes the parts more fragile than a production model, however the initial K02.2 prototype successfully made several prints of decent quality. Most print failures may have been explained by early bed mounting and filament pusher mounting – these were done mostly as hacks to test the electronics and basic mechanism.
Current design work is aimed at producing a more robust mechanism with a polished look and feel.

Dual Material Printing
Many 3D printers can only deposit a single material per print. This limits the shapes of objects you can create without using difficult to remove same-material supports. Same-material support requires greater effort in post-print finishing and is impossible to use internally within an object.
With a second extruder you can use dissolvable filament such as HIPS or PVA which makes post-print removal of support material easy and clean.
Newer materials such as electrically conductive or carbon fibre filaments open up a world of possibility to embedding dissimilar materials within each other in the same print.
The Kitchissippi Gemini 3D Printer aims to make these possibilities a reality.
Large Volume Printing
Typical consumer 3D printers can only make small objects due to their limited print bed size and physical limitations. Scaling many of them up to the size of the Kitchissippi Gemini 3D Printer will introduce speed penalties due to the increased moving mass.
The larger the print area, the faster you want to be able to print to cover the increased volume. It is counter productive if the machine has to slow down to accommodate a larger mechanism.
The Kitchissippi Gemini 3D printer is scalable without compromises – the base prototype has a 300mm x 300mm print area with very little moving mass, allowing it to produce large objects in less time. The print bed itself only moves once per layer, vertically driven by precision lead screws. Only the extruder carriage is in constant motion and the heavy stepper motors for pushing the filament remain stationary.


CoreXY Linear Motion
Although there are many ways to achieve a stationary XY gantry, the Kitchissippi Gemini 3D Printer uses the CoreXY concept.
Instead of moving heavy hardened steel rods, the Gemini uses light-weight 9mm miniature linear slide rails which provide smooth but rigid linear motion. CoreXY eliminates the potential binding issues seen with HBot designs allowing for large-span guides without the bulk.
Recent Blog Entries
Next Gemini Prototype Design
After getting the latest prototype of the Gemini 3D printer up and running I was dissatisfied with the assembly, implementation, appearance and performance of the overall system. I starting playing around with some ideas in Sketchup by moving bits around and fiddling...
Gemini-3D Printer Rev3 Up and Running
Work on the Gemini 3D Printer was on hold for a few months while I used it's cart as a temporary plant nursery for my garden. I created a few quick parts to get the bed mounted to the Z axis and get the machine up and running for some testing. There have been a few...
The Kitchissippi Robotics 45 Degree Linear Carriage (A brief history)
This linear carriage design is something I have been toying with for several years now. It all started with having picked up a bulk lot of 608zz skate bearings with the intent of making a Rostock or similar delta printer some day, but mostly because I needed a few for...
Gemini Revised Z-Axis First Test Part
As I've discussed in my last couple of posts, I am redesigning the Z-Axis for the Gemini prototype. The 12mm rods are now doubled up on each side and I am working on a test assembly which uses single LM12UU bearing per rod. From an ideal perspective, I should probably...
Start of Revised Gemini Z Axis
In my last post I described some mistakes made in the Z axis design - particularly that I had not made a secure enough clamping setup on the LM12UU bearings and had also selected aluminum stock for the weight bearing arms that was not up to the task of supporting the...
Gemini Revision 3 Testing
After wiring everything up and running electronics and motion testing, I am happy with with general design of the corexy system and the hotend mounting. I ran the machine through some paces last night for several hours without any failures or signs of warping due to...
Gemini Revision 3 Build Progress
After much revision to the X-Carriage and it's related electronics and hardware mounts I finally have something I believe is a viable prototype. This leads to the great fun of many hours of wiring and testing the electronics. Aside from an issue with the X axis...
Gemini Project Update of Sorts
In my last post I described many changes and goals I was seeking to achieve with a redesign of the X-Carriage for the Gemini 3D printer. Admittedly this process has taken much longer than I ever anticipated, which has been disappointing. After the first working...
Gemini Modular Compact X Carriage Design
After much experimenting with OpenSCAD for the X-Carriage I have quickly learned how powerful a tool it can be for developing complex parts. I was coming up with some interesting concepts for wrapping extruded plastic around the various hardware and electronic...
OpenSCAD Mockup of Gemini X-Carriage
Using OpenSCAD to recreate - and hopefully finally finish - the X-Carriage design has been proving beneficial. It's now much easier to programatically place the parts in a mockup of the assemblies and see how they'll fit - and most importantly, I can make parametric...